$65.00 off 315EX or 145HPX batteries
Use coupon code: Batty
The Winnebago View 24, a very popular Class C rv that has a unique storage space for batteries. The question is, can you utilize this space and put in 2 of the SFK315EX batteries for a huge 630AH battery bank? So today we will see how this process is done including some of the modifications you may have to do in order to get this installed. If you prefer to watch the process you can watch the video below:
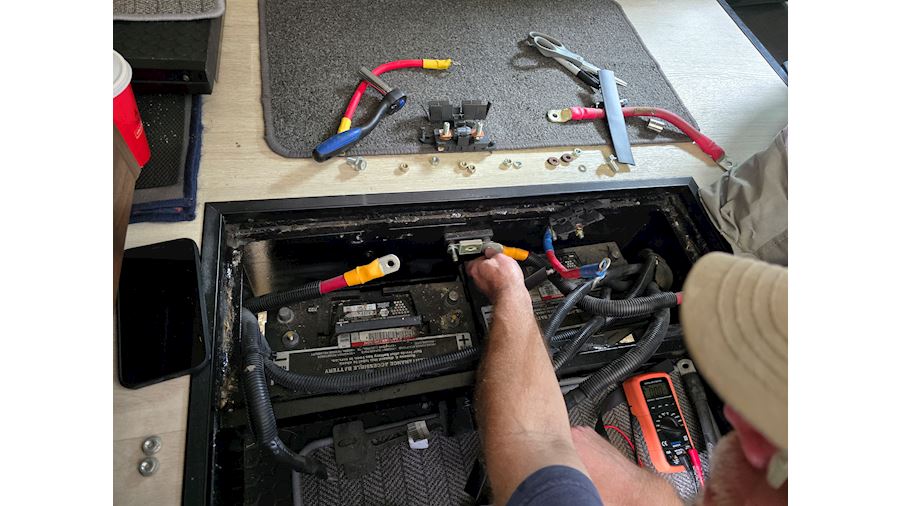
Ok so first you will begin by removing the lead acid batteries and disconnecting the wires. We will also need to unmount the stock fuses and as this is needed to install the new ones. You will need to reposition them later after we install the new batteries but for now lets focus on removing the stock batteries.
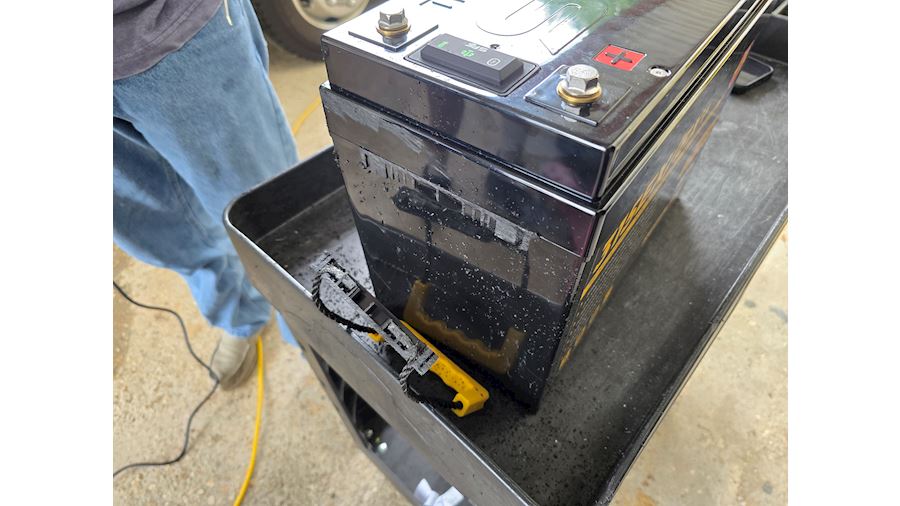
After you have taken out the stock batteries, you will probably need to remove the side grommets, our batteries are a tight fit and they are actually going to require you to cut off one of the side handles on the side with the postive/negative terminals. This is needed for the battery to fit in the allocated space.
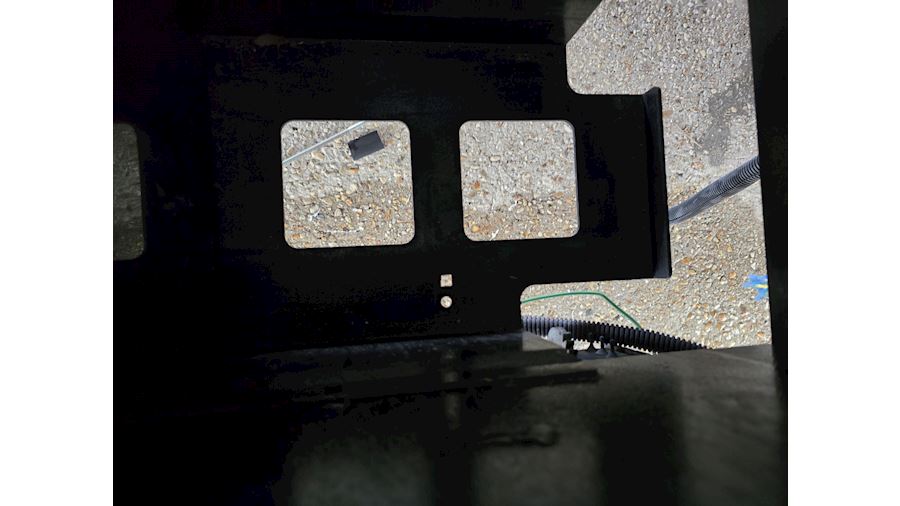
Another thing that we will need to do is drill a new hole on the bottom of the battery cage as the 315EX is a bit wider than the stock batteries, but don’t worry there is plenty of space available, as we can still use the stock retaining bracket to keep the new batteries in place.
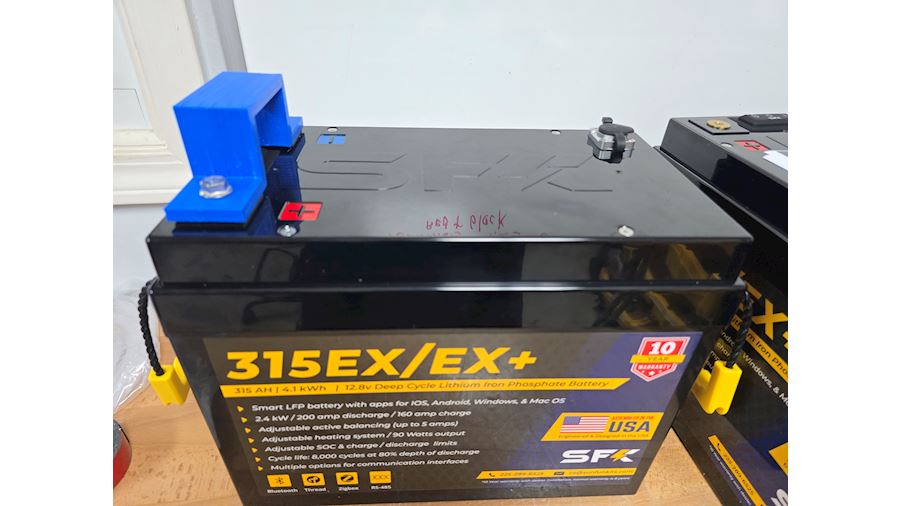
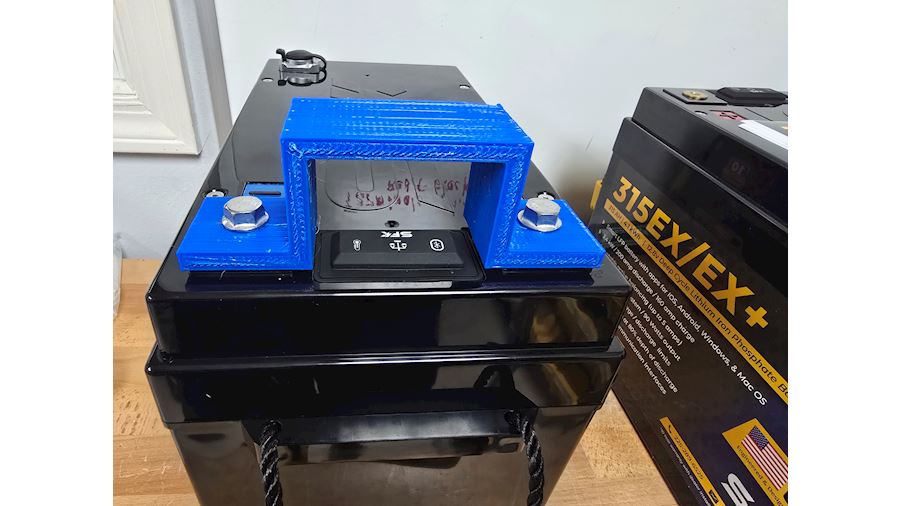
Don’t worry if you are concerned about how to fit the battery with 1 handle missing, we can send you a battery holder that uses the terminals of the battery as anchor points to put the new battery in place. By using this battery holder and the remaining intact handle you will be able to position the battery in place. Once done un bolt the printed handle and repeat the same process for the other battery. You will want to orient them so that the battery terminals are facing each other.
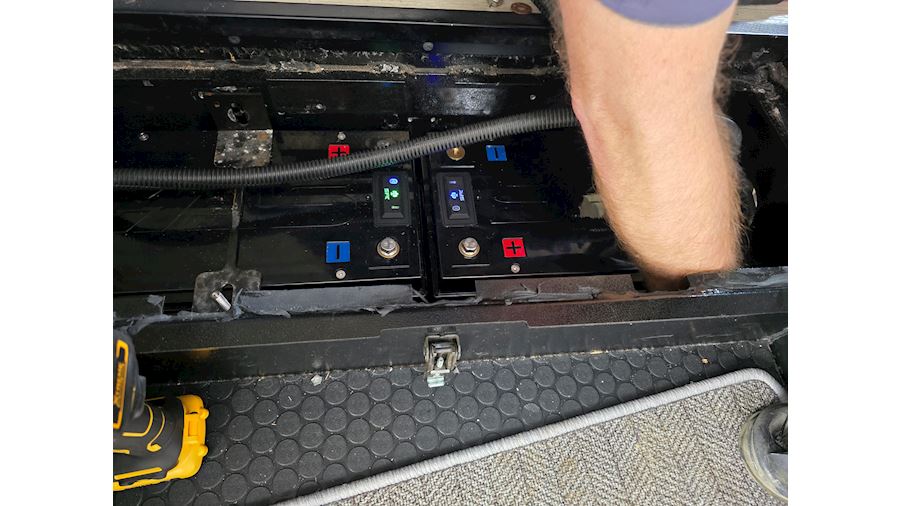
With the batteries in place we can now begin re-wiring them, note for this process we are going to have to re-position the stock fuses and bus bars; for our install they were moved a bit to the left.
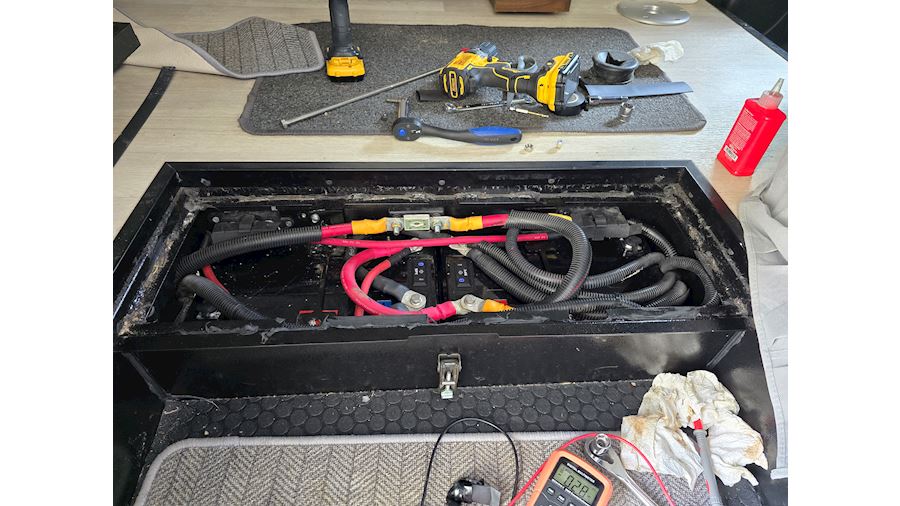
We also had to make 2 new cables connect the dual 100a fuses. We were able to use the remaining stock wires and re-route them a bit to fit. The brackets holding the batteries were also flipped so that they now point upwards, this gives us the height clearance we need. The steps still fit so you will have no issues putting them back on. After checking all the wires we confirmed a proper working setup and turned the system on and configured the stock Xantrex inverer to LFP mode and also updated the solar charger. All 3 methods can now charge the batteries: Alternator, Solar Charger, and Shorepower.
And with that, the install was completed, it took us about 2.5 hours for us to do including making 2 new cables and some of the modifications needed to the battery cage. If you would like to learn more about the 315EX Victron / Bluetooth / Heated battery, click here: https://www.sunfunkits.com/product/158/sfk315ex-128v-315-ah-41-kwh-victron-communications-bluetooth-dual-heating-lithium-battery